Last updated: July 2025
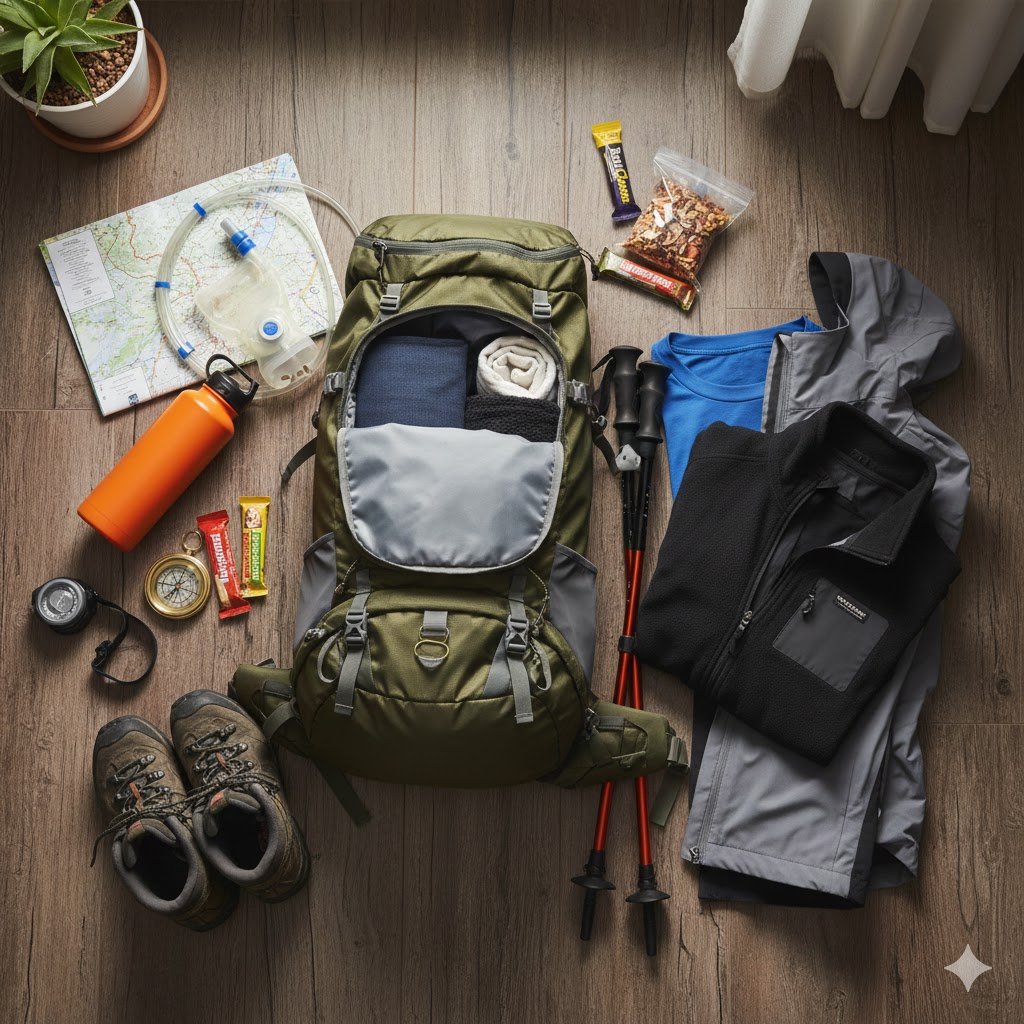
Making your own dehydrated meals for backpacking can save money, reduce waste, and tailor flavors to your taste. With some simple equipment—like a food dehydrator or oven—and a bit of planning, you can prepare backpacking food that’s lightweight, nutritious, and delicious. This guide walks you through the basics of DIY trail food, from safety tips to recipes for dehydrated hiking meals you’ll love on the trail.
If you haven’t, check related previous article on Easy No-Cook Hiking Meals and Snacks.
Table of Contents
*This post may contain affiliate links. If you use them, I may earn a small commission at no extra cost to you.
1. Why Dehydrate Your Own Meals?
- Cost Savings: Commercial freeze-dried meals can be $8–12 per serving; DIY can be $2–4.
- Customization: Control ingredients, portions, and dietary preferences.
- Eco-Friendly: Reusable packaging reduces waste.
- Nutrition: Retains most vitamins and minerals when done correctly.
2. Essential Equipment and Supplies
- Dehydrator: A dedicated food dehydrator (COSORI recommended) or oven set to low (120–140°F).
- Mesh Trays/Parchment: For drying sticky items like sauces.
- Vacuum Sealer & Mylar Bags: Keeps moisture out and food fresh.
- Silica Gel Packs or Oxygen Absorbers: Extend shelf life.
- Sharp Knife & Cutting Board: Prep fruits, vegetables, and meats.
- Heavy-Duty Zipper Bags or Mason Jars: For short-term storage.
3. Safety First: Handling and Dehydrating Tips
- Blanch Vegetables: Brief boil or steam to stop enzymes, then ice bath before drying. Preserves color and nutrients.
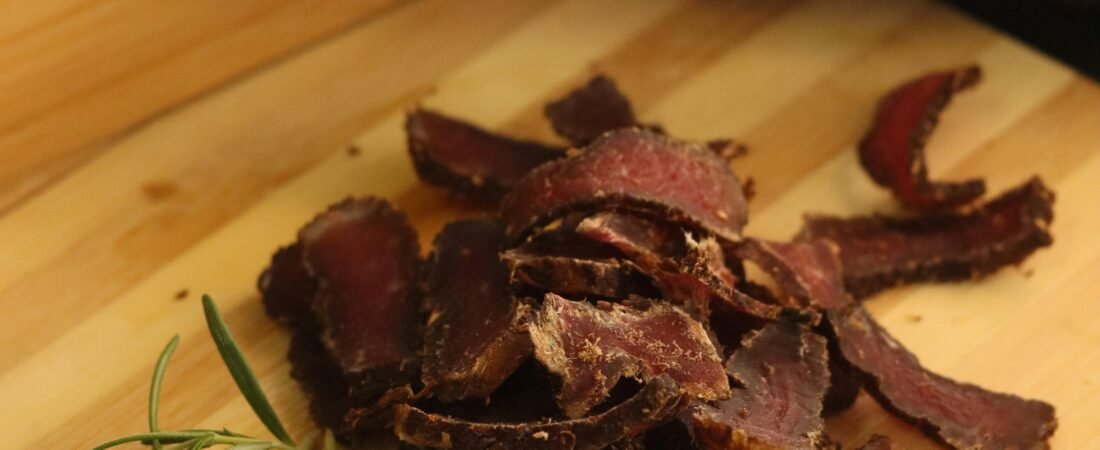
- Cook Proteins Thoroughly: Ensure meats and eggs are fully cooked before dehydrating to prevent foodborne illness.
- Uniform Slicing: Cut all items to similar thickness (1/8″–1/4″) for even dehydration.
- Airflow: Don’t overcrowd trays. Leave space between pieces.
- Proper Drying Times: Fruits: 6–12 hours; Vegetables: 8–12 hours; Meats (jerky): 4–8 hours. Verify crispness; no moisture pockets.
4. Basic DIY Dehydrated Meal Formulas
A. Breakfast: Oatmeal Pack
- Ingredients: 1 cup quick oats, 2 tbsp powdered milk, 2 tbsp dried fruit, 1 tbsp nuts/seeds, pinch of salt, optional spices.
- Dehydration: Skip—mix dry and rehydrate on trail with hot water.
B. Lunch/Dinner: Dehydrated Chili
- Ingredients: 1 lb ground beef or turkey (cooked & crumbled), 1 can beans (drained, rinsed), 1 cup diced bell pepper, 1 cup diced onion, 2 tbsp chili powder, 1 tsp cumin, 1 cup tomato sauce.
- Prep: Cook all ingredients together until thick.
- Dehydrate: Spread 1/4″ layers on trays; dehydrate 8–12 hours.
- Trail Prep: Rehydrate with hot water in a bag; let sit 10–15 minutes.
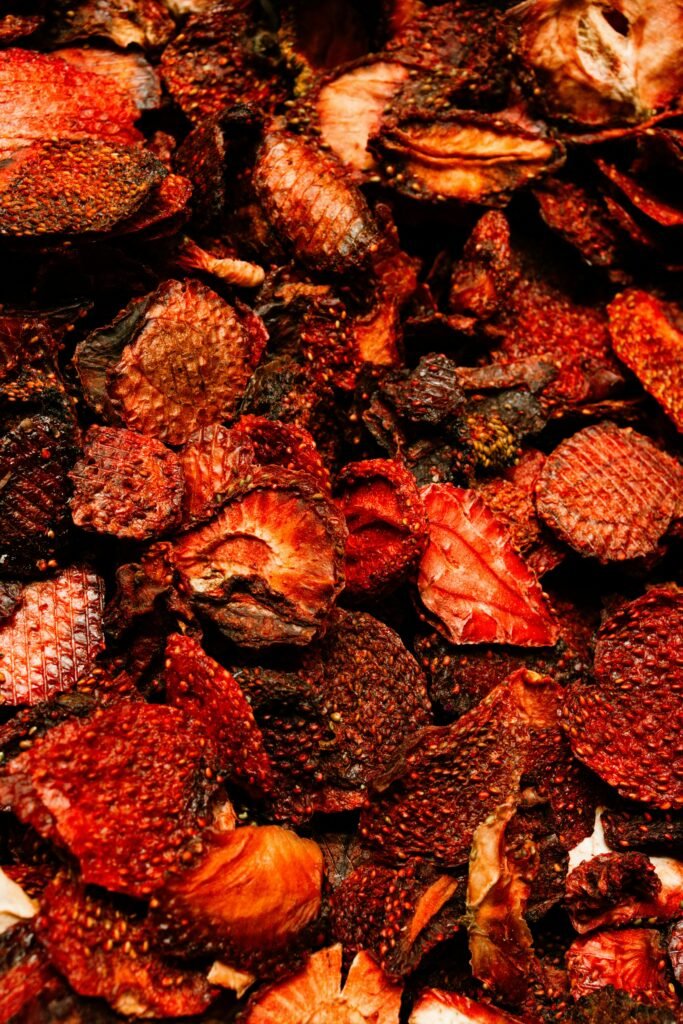
C. Snack: Fruit Leather
- Ingredients: Pureed fruit (e.g., strawberries, mango), optional sweetener.
- Dehydrate: Spread puree on parchment to 1/8″; dehydrate 6–8 hours until tacky but not sticky. Cut into strips.
D. Entrée: DIY Pad Thai
- Ingredients: Rice noodles (pre-cooked and drained), dehydrated veggies (carrot, cabbage, bell pepper), 2 tbsp powdered peanut butter, 1 tbsp powdered soy sauce, chili flakes.
- Dehydrate: Dry veggies separately; noodles store pre-cooked or quick-cook.
- Trail Prep: Combine all in bag, add hot water, stir, let rehydrate 10 minutes.
5. Packaging and Storage
- Vacuum Seal Individual Servings: Reduce bulk and oxygen.
- Label Clearly: Meal name, date dehydrated, rehydration instructions.
- Store in Cool, Dark Place: Maintains quality for 6–12 months.
6. Tips for Trail Success
- Carry Hot Water: A small stove or Jetboil is needed for rehydration, if you’re doing a day hike, you can take a hot water thermos instead.
- Test at Home: Verify taste, texture, and rehydration time before trip.
- Pack Seasoning Packets: Salt, pepper, hot sauce to liven flavors.
Frequently Asked Questions (FAQs)
Do I need a dehydrator to make backpacking meals?
A food dehydrator is the most efficient tool, but you can also use an oven on its lowest setting with the door slightly open. Dehydrators give better texture, efficiency, and safety.
How long do dehydrated meals last?
When stored in airtight containers in a cool, dry place, dehydrated meals can last up to 6 months to 1 year. Vacuum sealing and oxygen absorbers help extend shelf life even further.
Are dehydrated meals healthy?
Yes—especially when made at home. You control the ingredients, avoiding excess sodium, preservatives, and mystery powders found in many commercial backpacking meals.
What foods dehydrate best for backpacking?
Cooked rice, pasta, beans, lentils, ground meats, fruits, and vegetables dehydrate well. Avoid high-fat items like cheese or avocado—they spoil faster and don’t rehydrate well.
How much water do I need to rehydrate a meal?
Typically, 1:1 by weight—if your meal weighs 100g, add about 100ml of water. Start with less and add as needed until it reaches the desired consistency.
Can I cold soak dehydrated meals?
Some can be cold soaked (like couscous, instant rice, lentils), but most rehydrate faster and better with hot water. Pre-soaking and fine chopping can improve cold soak success.
Final Thoughts
Mastering DIY dehydrated meals transforms your backpacking experience—custom flavors, lighter loads, and cost savings. Start with simple recipes, refine your process, and soon you’ll have a freezer full of homemade dehydrated hiking meals ready for any adventure.
Getting ready for a hike? 10 Common Beginner Hiking Mistakes (And How to Avoid Them) and if it is one of your first trips, take a look at How to Start Hiking: A Beginner’s 12 Step Guide.


Leave a Reply