
Last updated: July 2025
Your complete guide to staying safe on the trails with the right first aid gear and know-how
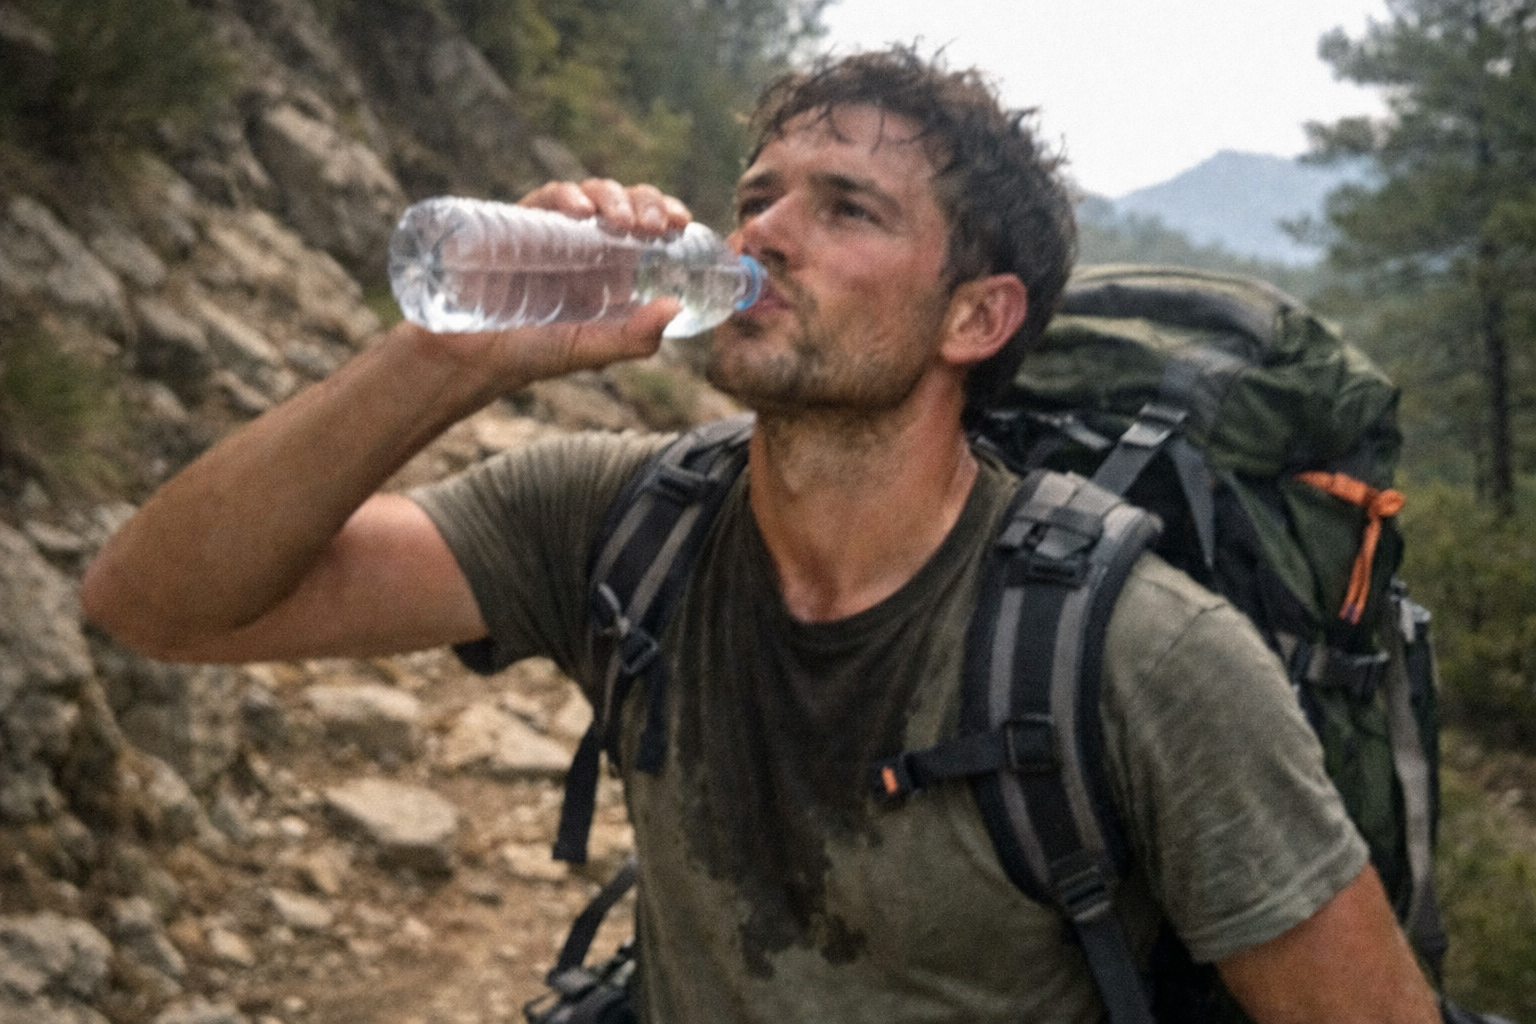
Picture this: you’re three miles into an amazing hike when your buddy takes a tumble and twists their ankle. Or maybe you’ve been fighting a gnarly blister for the last hour. Suddenly, that little first aid kit in your backpack becomes your best friend.
Here’s the thing – when you’re out on the trails, you can’t just call an Uber to the nearest hospital. That’s why everyone on the trail (yes, even you easy weekend hikers) needs to know basic first aid and carry the right gear. Don’t worry though – I’m not talking about lugging around a full medical kit. Just some smart, lightweight essentials that could save the day, sometimes quite literally!
Table of Contents
*This post may contain affiliate links. If you use them, I may earn a small commission at no extra cost to you.
Why Every Hiker Needs First Aid Skills (It’s Not Just About Being Prepared)
Let’s be real – stuff happens on trails. You’ve got rocks waiting to trip you, branches ready to scratch you up, and let’s not even talk about the bees, bears and falls. I’ve seen perfectly planned hikes turn into rescue missions because someone wasn’t prepared for a simple injury.
If you’re interested in professional first aid course check NOLS wilderness first-aid. But, if you just want to be prepared for hiking – you don’t need to become a wilderness paramedic, but knowing how to handle common trail injuries? That’s just smart hiking.
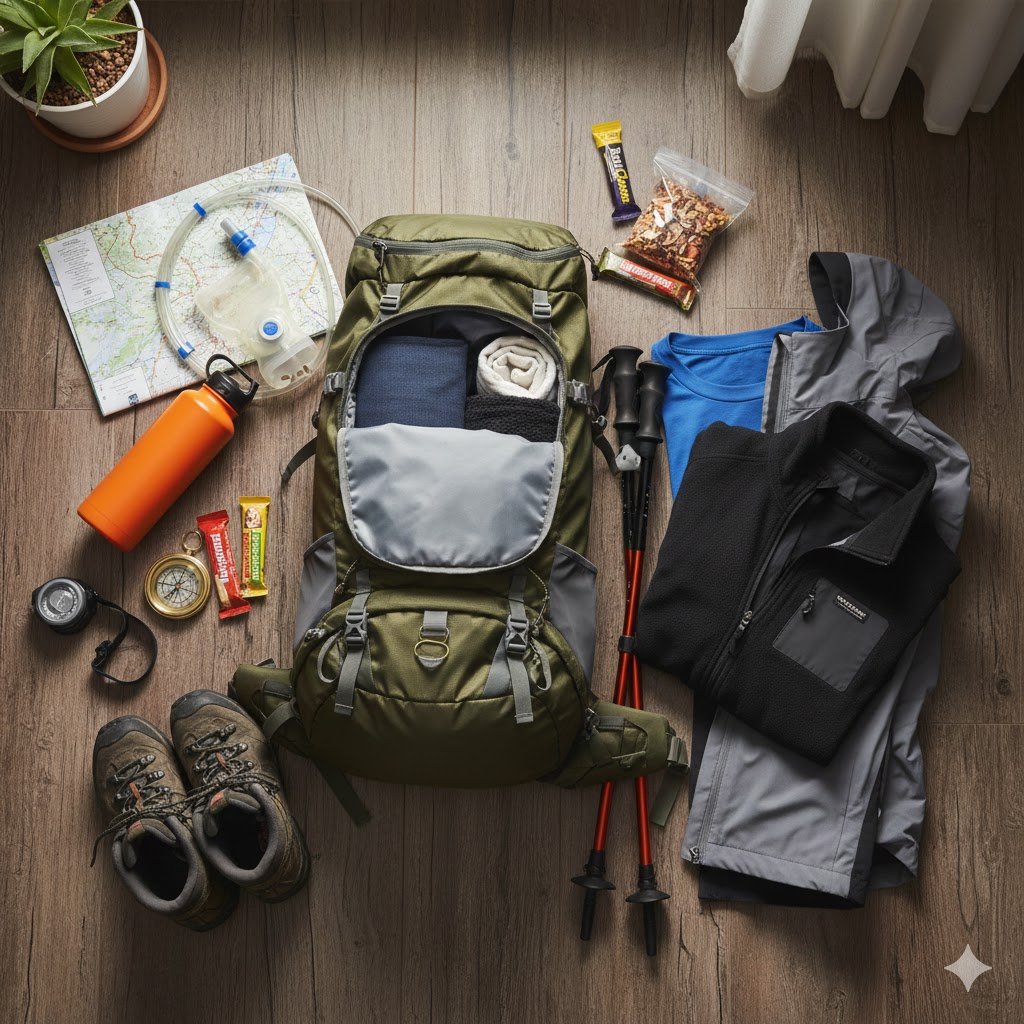
The Ultimate Hiking First Aid Kit Checklist
Alright, let’s dive into what should actually be in your trail first aid kit. I’ve organized this by what you’re most likely to come across (spoiler alert: it’s probably blisters).
Blister Prevention and Treatment (Your #1 Priority)
Why this matters most: Ask any experienced hiker what ruins more trips than weather, and they’ll tell you – blisters. These little devils can turn a fun day hike into a painful shuffle.
What to pack:
- Moleskin patches (the real MVP here)
- Leukotape or quality athletic tape
- Alcohol wipes for cleaning
- Small scissors for cutting tape to size
Pro tip from someone who learned the hard way: Apply moleskin at the first sign of hotspots, not when you already have a full blister. Trust me on this one.
My go-to products:
- Compeed Advanced Blister Care – these babies stay put through anything
- Leukotape P – way better than regular duct tape and actually made for skin

Cuts, Scrapes, and “Oops I Fell” Supplies
Reality check: You’re going to get scraped up. It’s basically a hiking rite of passage.
Essential supplies:
- Mixed-size adhesive bandages (get the fabric ones, not cheap plastic)
- Sterile gauze pads (2×2 and 4×4 inch)
- Medical tape that actually sticks
Hiking hack: Wrap some duct tape around your trekking poles. It takes up zero extra space and works great for securing gauze when your medical tape gives up.
Wound Care and Infection Prevention
The deal: A small cut can become a big problem if it gets infected. Clean wounds heal faster and cause way less drama.
Must-haves:
- Antiseptic wipes (individually wrapped for freshness)
- Triple antibiotic ointment packets
- Hand sanitizer (because clean hands = clean wound care)
Brand recommendations:
- BZK antiseptic wipes (gentler than alcohol)
- Med Pride Medical antibiotic ointment singles
Pain Relief and Allergy Management
Why you need this: Headaches, bee stings, twisted ankles, and that “I ate something weird” feeling all happen on trails.
The basics:
- Ibuprofen for pain and swelling (way better than acetaminophen for hiking injuries)
- Benadryl for allergic reactions
- Antacids (because trail food can be rough)
- Electrolyte tablets (dehydration headaches are the worst)
Personal favorites:
- AfterBite sting relief
- Nuun electrolyte tablets (they actually taste good)
Tick and Splinter Removal Tools
Unfortunate truth: Ticks are everywhere, and splinters love hikers. Be ready for both.
Essential tools:
- Fine-pointed tweezers (get good ones – cheap tweezers break at the worst times)
- Tick removal tool (TickKey or similar)
Tick prevention tip: Do a full body check after hiking in brushy areas. It’s weird but necessary.
Sprains and Strains Support
When you need it: Twisted ankles are super common, especially on rocky or root-covered trails.
What works:
- Elastic bandage or ace wrap
- Safety pins to secure it
How to use it: Remember RICE – Rest, Ice (if available), Compression, Elevation. Wrap snugly but not so tight that you cut off circulation.
Emergency and Safety Items
The stuff you hope you never need:
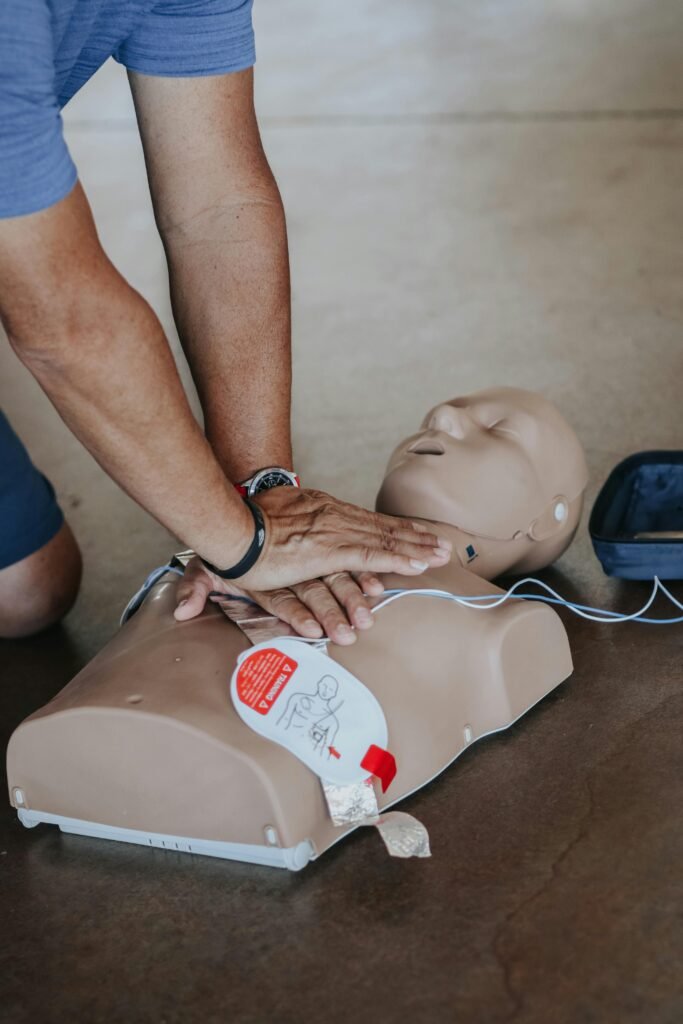
- CPR pocket mask
- Emergency whistle (louder than your voice when you’re tired)
- Disposable medical gloves
- Emergency blanket (those shiny space blankets actually work)
- Safety pins (surprisingly useful for multiple things)
Emergency blanket recommendation: SOL Emergency Blanket – it’s barely heavier than a candy bar but could save your life.
Personal Medications (Don’t Forget These!)
If you have ongoing health conditions, never hit the trail without:
- Inhaler (if you have asthma)
- EpiPen (if you have severe allergies)
- Any daily medications in a waterproof container
Best Pre-Made Hiking First Aid Kits (For When You Don’t Want to DIY)
Sometimes you just want to buy something ready-to-go. Here are the kits that actually make sense for hikers:
For day hikes: Adventure Medical Kits Ultralight/Watertight .7
- Perfect size-to-coverage ratio
- Actually waterproof
- Weighs less than a water bottle
For longer trips: Surviveware Small First Aid Kit
- Super organized (you can find stuff quickly)
- Durable case
- Good value for what you get
For serious backpacking: MyMedic Solo Kit
- Built tough for hardcore use
- Comprehensive supplies
- Worth the extra weight for multi-day trips
Learning First Aid Skills That Actually Matter
Here’s the thing – having gear is only half the battle. You need to know how to use it, and I don’t mean just reading the instructions while someone’s bleeding.
Best ways to learn:
Online resources:
- REI’s wilderness first aid guides (free and actually useful)
- YouTube wilderness medicine channels (but stick to certified instructors)
Hands-on training:
- Red Cross Wilderness First Aid course
- NOLS Wilderness First Aid certification (this one’s gold standard)
- Local hiking clubs often offer basic first aid workshops
Pro tip: Practice using your first aid supplies at home. Seriously. Try putting a bandage on with cold, wet hands in your backyard. It’s harder than you think.
Quick Reference: Common Trail Injuries and What to Do
| What Happened | Your Move |
|---|---|
| Hot spot/blister forming | Stop immediately, clean area, apply moleskin before it gets worse |
| Cut or scrape | Clean with antiseptic wipe, apply antibiotic ointment, cover with appropriate bandage |
| Twisted ankle | Rest, compress with elastic wrap, elevate if possible, assess if you can continue |
| Bee sting | Remove stinger if visible, clean area, apply cold if available, take Benadryl if allergic |
| Tick found | Remove carefully with tick tool, clean bite area, monitor for rash over next few weeks |
| Dehydration symptoms | Find shade, sip water slowly, add electrolytes, rest until feeling better |
Building Your First Aid Skills: Start Small, Think Smart
Don’t try to become a wilderness EMT overnight. Start with these basics:
- Learn proper wound cleaning – sounds simple but most people do it wrong
- Practice bandaging techniques – on yourself, friends, whoever will let you
- Understand when to worry – know the difference between “walk it off” and “we need help”
- Know your limits – understand when an injury is beyond first aid
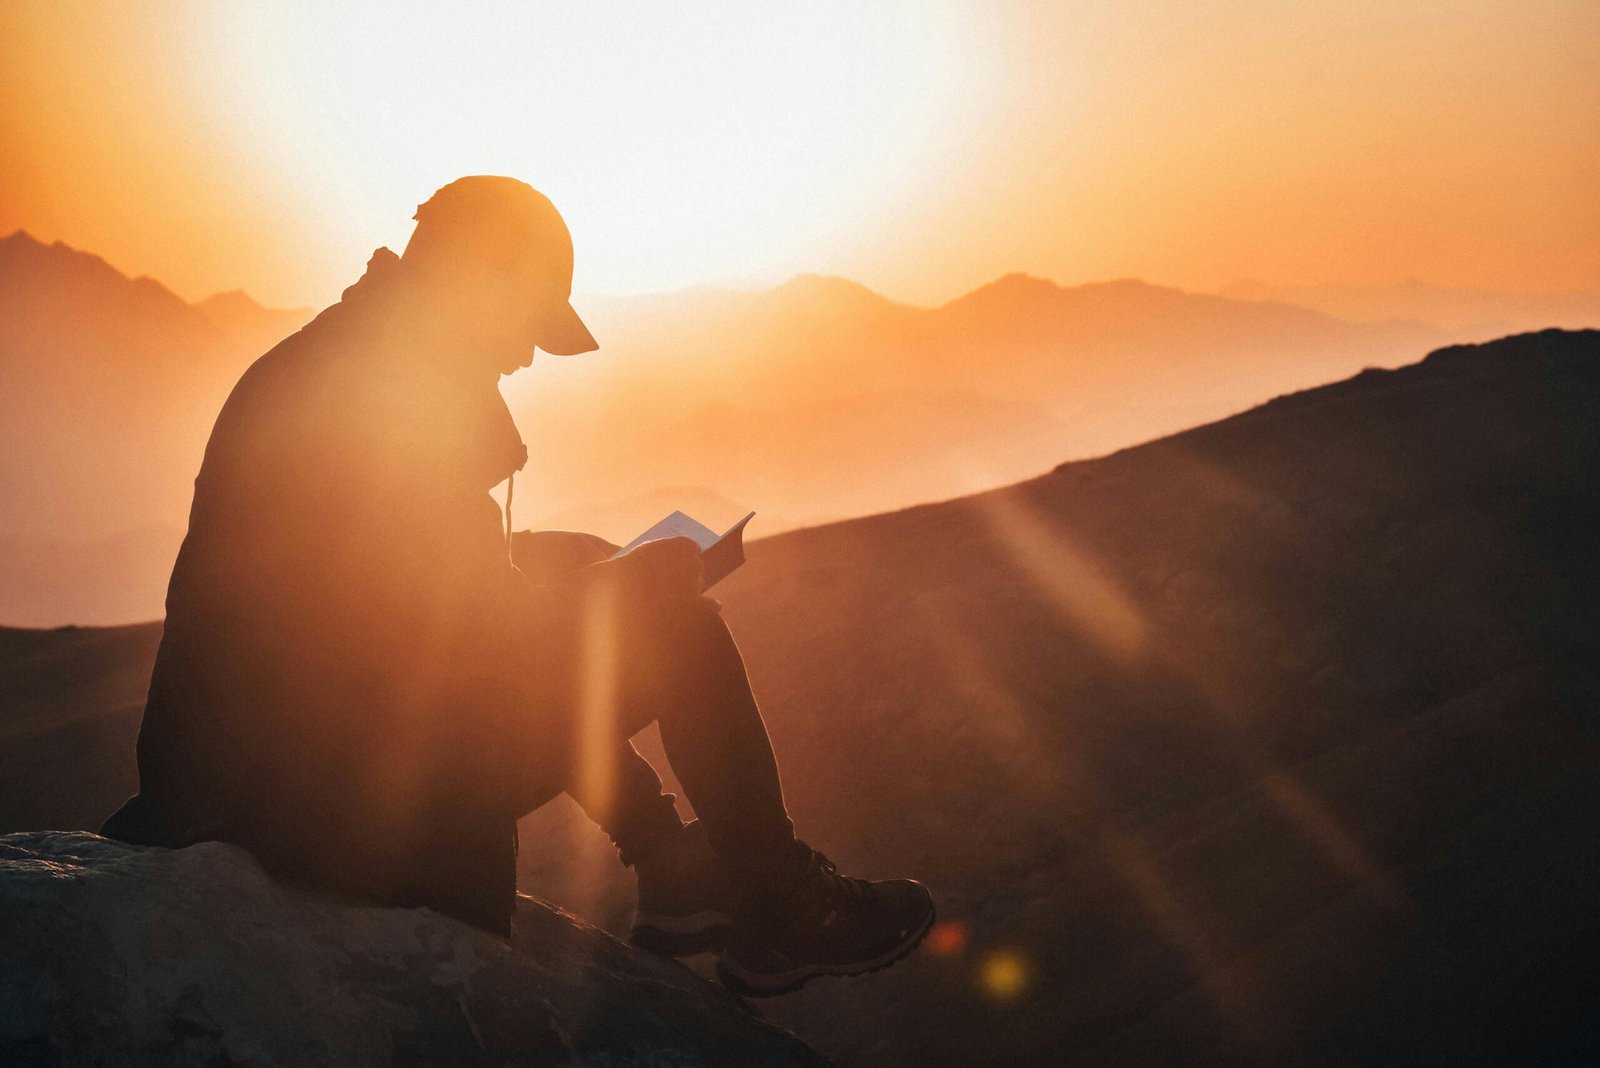
The Real Talk About Trail First Aid
Look, I’m not trying to scare you away from hiking. The outdoors are amazing, and most hikes end with nothing more dramatic than sore feet. But the reality is that being prepared makes everything better.
A good first aid kit weighs maybe a pound and takes up less space than a sandwich. The knowledge to use it? That weighs nothing at all but could be worth everything when you need it.
Your First Aid Kit Maintenance Checklist
Don’t be that person with expired medication and dried-out antiseptic wipes. Check your kit every few months:
- Replace expired medications
- Refill used supplies
- Check that liquids haven’t leaked
- Make sure batteries in any devices still work
- Practice using unfamiliar items
Final Thoughts: Small Prep, Big Peace of Mind
Here’s what I want you to remember: carrying a first aid kit isn’t about expecting disaster – it’s about being the kind of hiker who’s ready for whatever the trail throws your way. Whether that’s your own twisted ankle or helping out a fellow hiker who forgot their blister patches.
Start with a basic kit, learn some simple skills, and adjust based on your hiking style and the trails you frequent. Desert hiking in Arizona? You’ll want different supplies than forest trails in Oregon.
The best first aid kit is the one you actually carry and know how to use. So start simple, stay consistent, and remember – a little preparation goes a long way toward keeping your adventures fun instead of turning them into emergencies.
Ready to build your kit? Start with blister care and basic wound supplies. You can always add more as you gain experience and confidence.
Looking for more hiking safety tips? Check out our guides on Hiking Footwear Guide, How to Handle Getting Lost on a Hike, and Hot weather hiking: How to Survive Hiking in Summer.
Leave a Reply