Last updated: August 2025
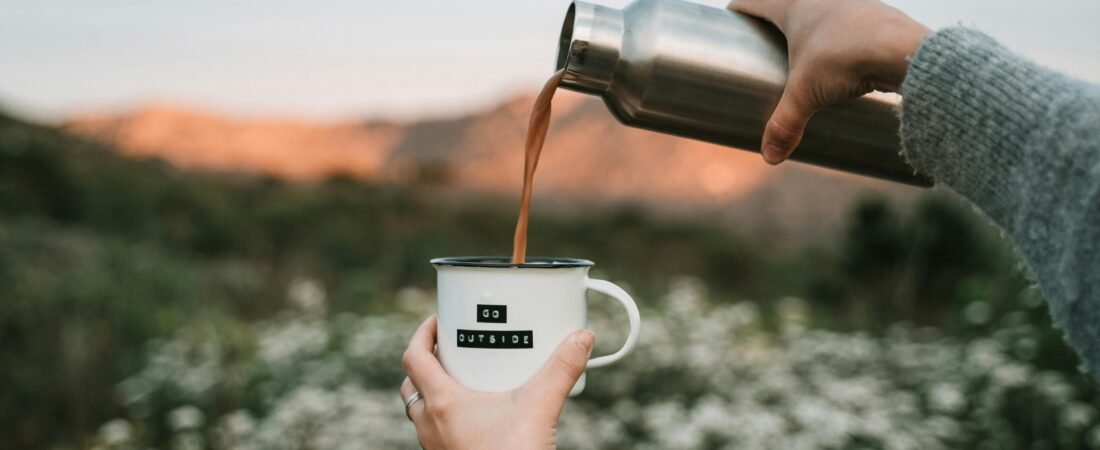
Whether you’re trekking through alpine forests or enjoying a quiet sunrise by the lake, there’s something magical about sipping coffee while hiking. Even though coffee can be a great way to enhance your adventure, weight and volume limits are things to keep in mind. Still making great trail coffee requires the right gear and techniques. This comprehensive guide covers the best hiking coffee makers, top camping coffee methods, and expert tips for brewing the perfect cup in the wilderness.
Table of Contents
*This post may contain affiliate links. If you use them, I may earn a small commission at no extra cost to you.
Why Trail Coffee Matters for Hikers and Campers
Morning caffeine isn’t just routine—it’s a vital hiking ritual. Coffee on the trail serves as a morale boost, peaceful moment, and social connector with fellow adventurers. Whether you’re hitting peaks at sunrise or enjoying multi-day backcountry loops, quality camping coffee significantly enhances your outdoor experience.
Studies show that moderate caffeine consumption can improve endurance and focus—essential benefits for challenging hikes and long camping days.
5 Best Hiking Coffee Brewing Methods (Ranked by Weight & Taste)
1. Instant Coffee: Best Ultralight Hiking Coffee Option
Best for: Ultralight backpackers, thru-hikers, emergency coffee stashes
Weight: 0.1-0.2 oz per serving
Brew Time: 30 seconds
Pros:
- Ultralight and compact
- Zero cleanup required
- Fastest preparation time
- No additional equipment needed
Cons:
- Limited flavor complexity
- May not satisfy coffee enthusiasts
Top Instant Coffee Recommendations for Hiking:
- Alpine Start Original Blend – Smooth, non-bitter taste
- Starbucks VIA – Widely available, consistent quality
- Mount Hagen Organic – Best organic instant option
2. Pour-Over Coffee: Best Balance of Taste and Weight
Best for: Coffee lovers seeking quality without excessive weight
Weight: 1-3 oz (dripper + filters)
Brew Time: 3-4 minutes
Pros:
- Superior taste control and quality
- Lightweight, packable options available
- Familiar brewing method
Cons:
- Requires paper filters and pre-ground coffee
- Slightly more cleanup than instant
Best Pour-Over Gear for Hiking:
- GSI Ultralight Java Drip – Ultra-packable, 0.6 oz
- Kuju Pocket PourOver – Pre-loaded with coffee and filter
- Sea to Summit Coffee Brewer – Collapsible with built-in mesh filter
- Hario V60 Plastic – Lightweight option for car camping
3. French Press Coffee: Best for Car Camping and Base Camps
Best for: Car campers, established base camps, longer stays
Weight: 8-12 oz
Brew Time: 4-5 minutes
Pros:
- Rich, full-bodied flavor profile
- No paper filters required
- Familiar home brewing experience
Cons:
- Heavier than ultralight alternatives
- More complex cleanup process
- Ground disposal considerations
Recommended Trail-Ready French Presses:
- Jetboil French Press Attachment – Pairs with Jetboil systems
- GSI Outdoors JavaPress – Lightweight plastic construction
- Stanley Classic Stay-Hot French Press – Double-wall insulation
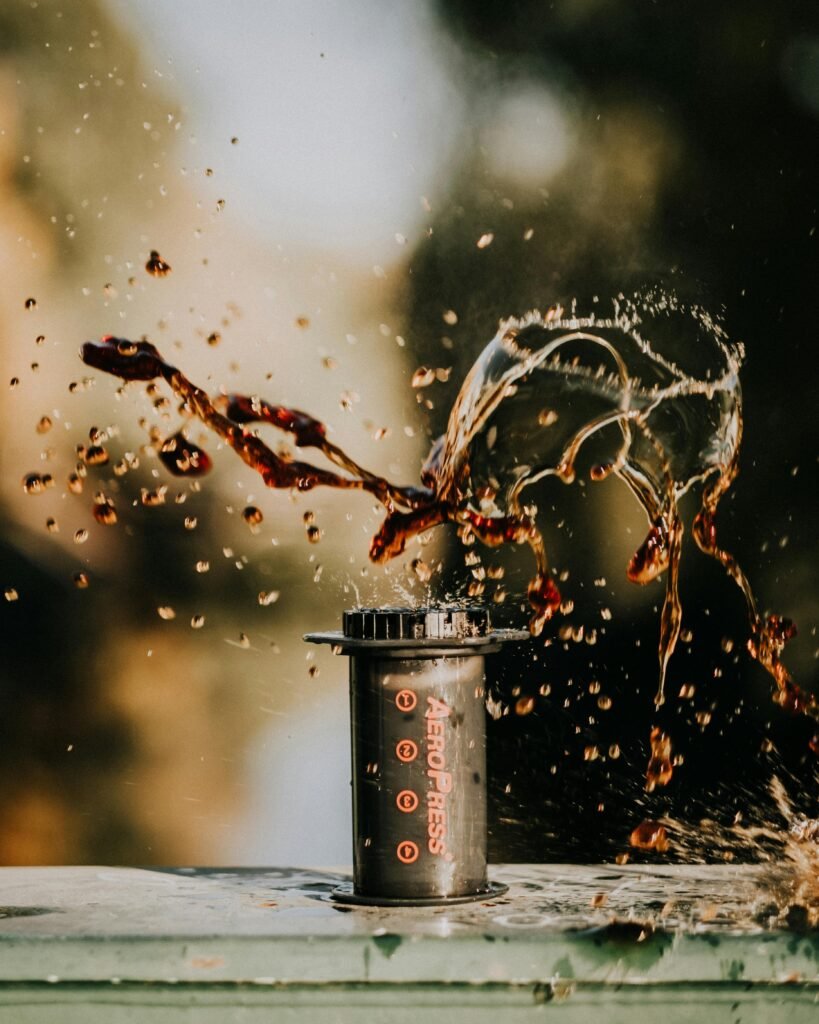
4. AeroPress Go: Best Coffee Quality for Serious Enthusiasts
Best for: Coffee aficionados prioritizing taste over weight savings
Weight: 11.5 oz (complete kit)
Brew Time: 2-3 minutes
Pros:
- Exceptional coffee quality and consistency
- Compact, self-contained design
- Durable construction for repeated use
- Easy cleaning process
Cons:
- Higher weight than ultralight options
- Requires proprietary filters
- Needs stable, flat brewing surface
Why AeroPress Go excels: Creates espresso-style concentrated coffee with minimal effort, perfect for hikers who refuse to compromise on quality.
Two options: AeroPress Go and AeroPress Original
5. Cowboy Coffee: Traditional Trail Coffee Method
Best for: Minimalist hikers, thru-hikers, equipment-free situations
Weight: 0 oz (uses existing cookware)
Brew Time: 6-8 minutes
How to Make Perfect Cowboy Coffee:
- Boil water in your cooking pot
- Remove from heat, add coarse coffee grounds (2-3 tbsp per cup)
- Steep for 4-5 minutes
- Gently tap pot sides to settle grounds
- Pour slowly, leaving sediment behind
Pros:
- No additional gear required
- Authentic wilderness experience
- Works with any cookware
Cons:
- Potential for gritty texture
- Requires technique mastery
- Less consistent results
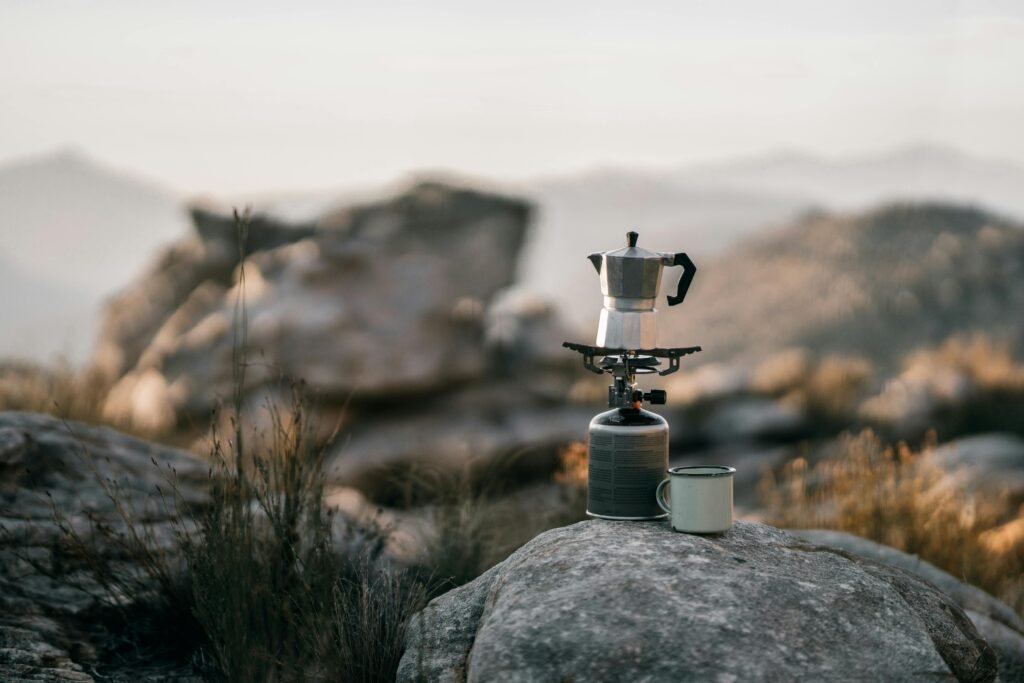
Essential Trail Coffee Gear and Equipment
Lightweight Camping Stoves for Coffee
- MSR PocketRocket 2 – 2.6 oz, reliable performance
- Jetboil Flash – Integrated system, fast boiling
- BRS-3000T – Ultra-compact, 0.9 oz
- Soto WindMaster – Wind-resistant design
Best Hiking Coffee Mugs and Cups
- GSI Infinity Mug – Double-wall insulation, 4.2 oz
- Snow Peak Titanium Cup – Ultra-light, 2.5 oz
- Hydro Flask Coffee Mug – Superior heat retention
- Sea to Summit X-Mug – Collapsible, space-saving
Coffee Storage and Organization
- Airscape Travel Canister – Airtight, compact storage
- REI Co-op Nalgene Food Storage – Durable, leak-proof
- Zip-lock bags – Ultralight, disposable option
- GSI Spice Missile – Compact pre-ground storage
Expert Tips for Perfect Trail Coffee Every Time
Pre-Trip Preparation
- Grind beans at home using coarse setting for better extraction
- Measure portions into individual servings (saves time and reduces waste)
- Test your setup at home before hitting the trail
- Pack backup instant coffee for emergencies
On-Trail Brewing Techniques
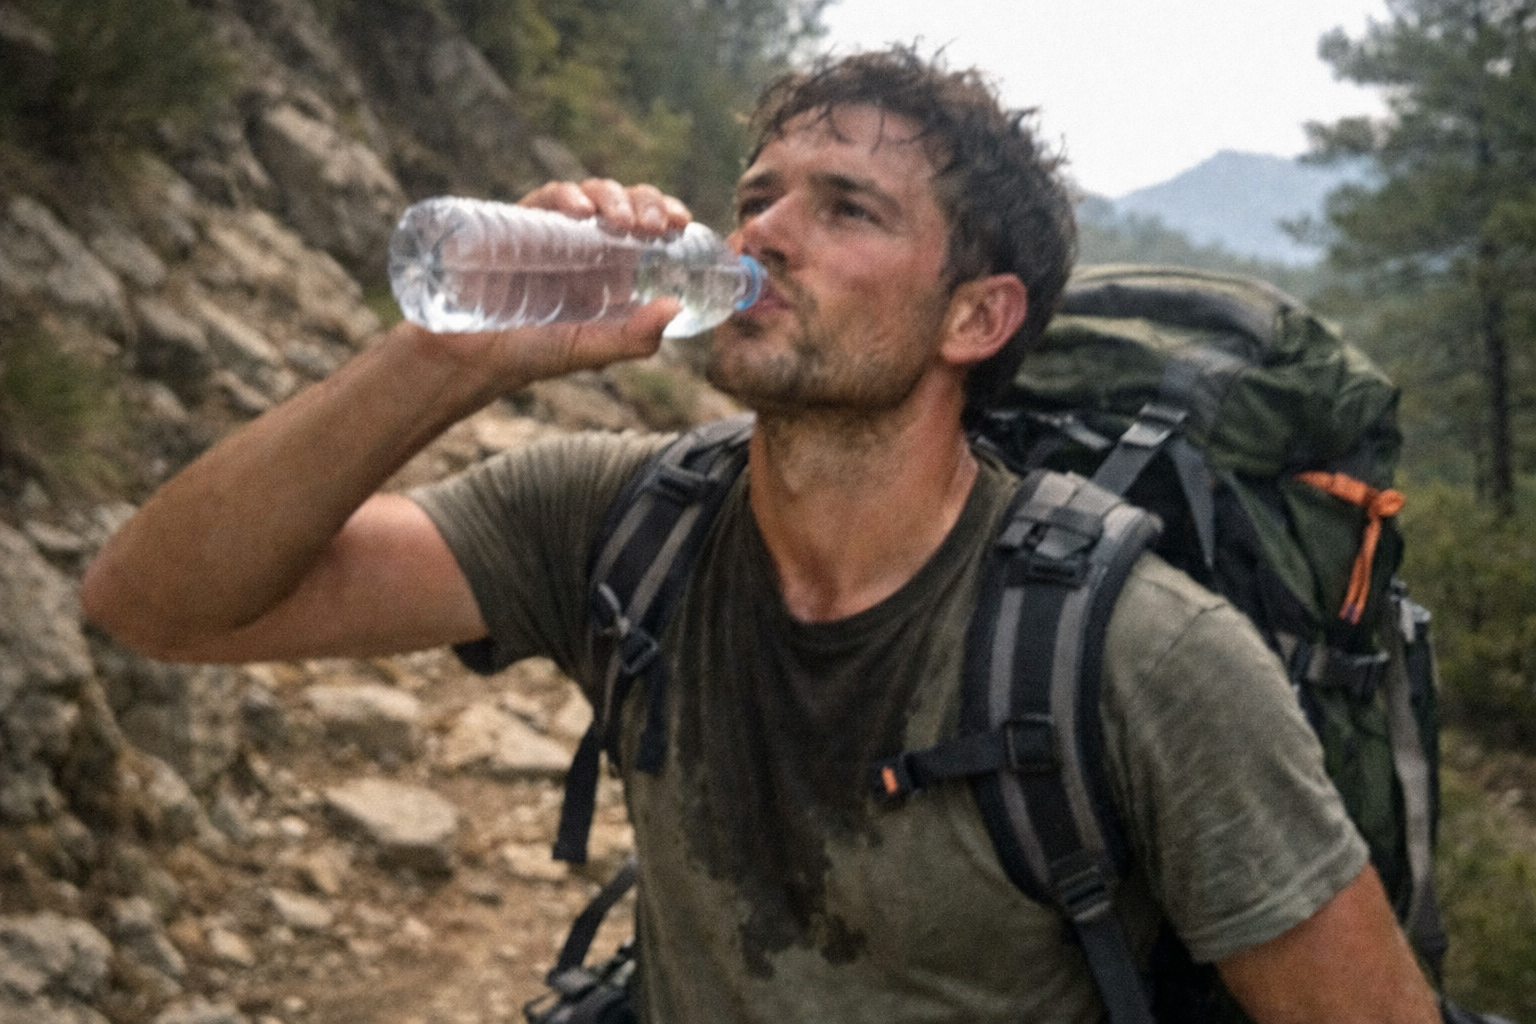
- Use filtered water when possible for better taste
- Maintain proper water temperature (195-205°F for optimal extraction)
- Time your brewing consistently for repeatable results
- Practice Leave No Trace by packing out all coffee grounds
Bear Country and Food Safety
- Store coffee with other scented items in bear canisters or hang bags
- Clean equipment thoroughly to avoid attracting wildlife
- Choose low-odor options in high bear activity areas
More on bear safety: Bear Safety: Hiking in Bear Country – Safety Tips and Gear to Carry
Frequently Asked Questions About Trail Coffee
What’s the lightest way to make coffee while hiking?
Instant coffee is the lightest option at 0.1-0.2 oz per serving. Quality brands like Alpine Start provide good taste without equipment weight.
How do you dispose of coffee grounds while camping?
Pack out all coffee grounds in a sealed bag. Never bury or scatter grounds as they can attract wildlife and don’t decompose quickly in most environments.
Can you make espresso while camping?
The AeroPress Go creates espresso-style concentrated coffee. True espresso requires high pressure not achievable with portable camping gear.
What’s the best water temperature for trail coffee?
Aim for 195-205°F (90-96°C). If you don’t have a thermometer, let boiling water sit for 30-60 seconds before brewing.
How much coffee should you bring per day hiking?
Plan for 2-3 cups per person per day. Bring 15-20% extra for longer trips or if you’re sharing with other hikers.
Conclusion: Choose Your Perfect Trail Coffee Method
Trail coffee transforms outdoor experiences from good to exceptional. Whether you prioritize ultralight weight (instant coffee), superior taste (pour-over or AeroPress), or simplicity (cowboy coffee), there’s a perfect hiking coffee solution for every adventurer.
Start with your hiking style, consider your gear weight limits, and don’t be afraid to experiment. The best camping coffee method is the one you’ll actually use consistently on the trail.
Ready to upgrade your trail coffee game? Choose your brewing method, gather your gear, and hit the trail fully caffeinated for your next outdoor adventure.
Related Articles:
Leave a Reply to Kokie yra kavos ruošimo būdai? 18 skirtingų būdų – 1kava.lt Cancel reply